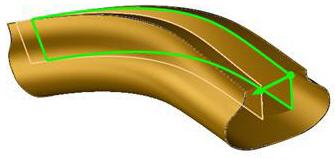
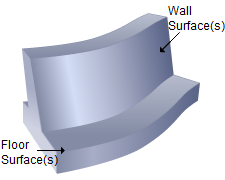
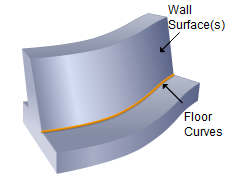
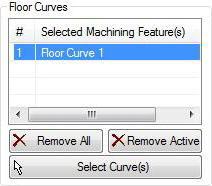
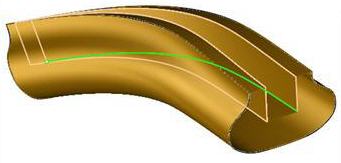
The 5 Axis Swarf Machining operation requires you to select Wall Surfaces and Floor Surfaces (or Curves) as machining features. See Machining Regions for more information regarding feature/regions. 5 axis machining operations require you to
Drive surfaces are the model geometry which is used for tool path generation; it is the surface you want to work on and defines the shape to be milled. You can select multi surfaces. Drive surfaces determine the tool location and tool axis in some cases. |
Drive curves are used to control the cutter locations. Here you select one or more curves as drive curves and the tool will follow the curve and these curves will be projected onto the Drive surfaces. The tool positions will then be modified according to gouge checking on the part surfaces. |
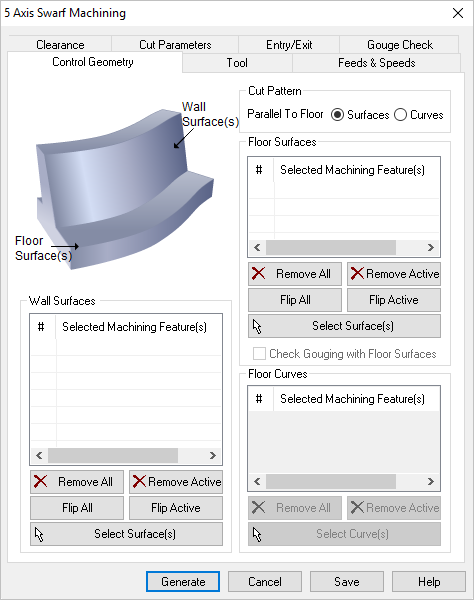 Dialog Box: Machining Features tab, 5 Axis Swarf Operations |
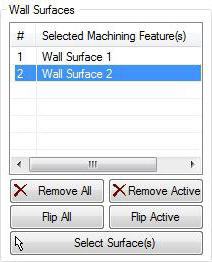
Wall surfaces are the model geometry which are used for the Swarf tool path generation; it is the surface to be machined. You can select multiple surfaces. The flute of the tool will be used to machine these surface(s) and the tool stays parallel to the wall surface. Select Surface(s)
Remove All Removes all Selected Surfaces from the Selected Machining Feature(s) list. Remove Active This allows you to remove a region from the selection list. You need to select a region from the list of Selected Machining Feature(s) and click Remove Active or press the delete key on the keyboard. Surface Normals Tool path orientation is determined by surface normal direction. So if you have generated the tool path on the wrong side you can simply change the surface normal by flipping the surface normal and regenerate your tool path again. The surface normal for each surface is represented by a green arrow on the surface. 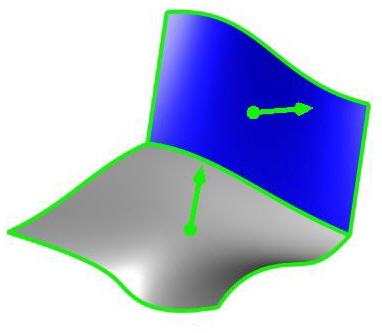 Surface Normals Flip All This flips the surface normals of all surfaces selected as Machining Features. Flip Active This flips the surface normal of the selected surface under Machining Region. 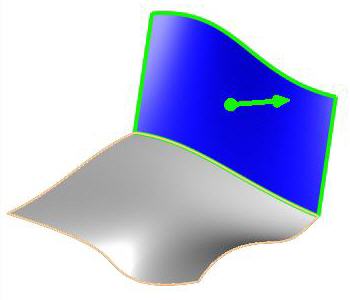 Flip Active Normal |
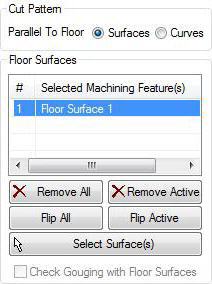
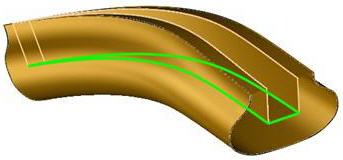
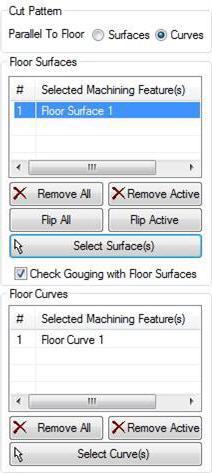
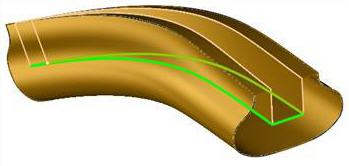
Here you can set the Swarf Cut Pattern: Parallel to Floor Set this to Surfaces or Curves for the floor geometry and then complete either the Floor Surfaces or Floor Curves section of the dialog. Both are described below
|
Floor surfaces are surfaces that determine the floor of the surfaces to be machined. These surfaces will be avoided during machining. Select Surface(s)
Remove All Removes all Selected Surfaces from the Selected Machining Feature(s) list. Remove Active This allows you to remove a region from the selection list. You need to select a region from the list of Selected Machining Feature(s) and click Remove Active or press the delete key on the keyboard. Surface Normals Tool path orientation is determined by surface normal direction. So if you have generated the tool path on the wrong side you can simply change the surface normal by flipping the surface normal and regenerate your tool path again. The surface normal for each surface is represented by a green arrow on the surface.  Surface Normals Flip All This flips the surface normals of all surfaces selected as Machining Features. Flip Active This flips the surface normal of the selected surface under Machining Region.  Flip Active Normal Check Gouge with Floor Surfaces When Cut Pattern is set to Parallel To Floor: Curves, this checkbox and the Floor Surfaces section of the dialog becomes active, allowing you to select floor surfaces to apply gouge checking to.
|
Floor curves are surfaces that determine the floor of the surfaces to be machined. These surfaces will be avoided during machining. Select Curves(s)
Remove All Removes all Selected Surfaces from the Selected Machining Feature(s) list. Remove Active This allows you to remove a region from the selection list. You need to select a region from the list of Selected Machining Feature(s) and click Remove Active or press the delete key on the keyboard. Surface Normals Tool path orientation is determined by surface normal direction. So if you have generated the tool path on the wrong side you can simply change the surface normal by flipping the surface normal and regenerate your tool path again. The surface normal for each surface is represented by a green arrow on the surface.  Surface Normals Flip All This flips the surface normals of all surfaces selected as Machining Features. Flip Active This flips the surface normal of the selected surface under Machining Region.  Flip Active Normal |
