You MUST define the Stock before creating a toolpath. There are different stock menu selections to choose from depending on your software configuration. Here are the steps to create a simple box stock.
1.Select the Program tab.
|
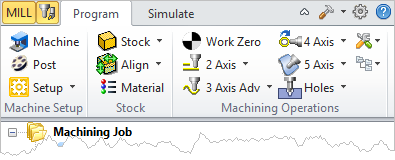
2.![]() From the Program tab, select the Stock menu.
From the Program tab, select the Stock menu.
3.Select Box Stock to display the dialog.
 Dialog Box: Box Stock |
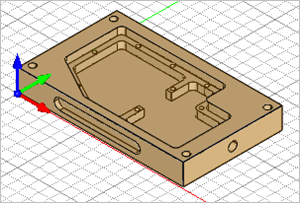
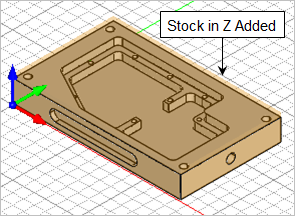
4.The stock box will display on the part when this dialog is displayed.
|

5.![]() To create a stock with the exact dimensions of your part, select the Copy Model Bounding Box button.
To create a stock with the exact dimensions of your part, select the Copy Model Bounding Box button.
|
6.If you have curves or other non-part wire frame geometry displayed, you can check the box in the dialog to ignore wire frame geometry in Bounds Calculation.
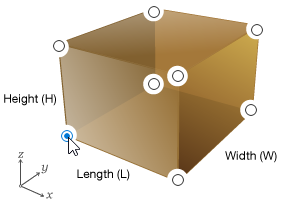
7.Alternately you can enter the Length, Width and Height dimensions of the stock you want to use.
|

8.Select the coordinate location to measure the stock dimensions from. By default stock dimensions are measured from the bottom left corner of the part.
|
9.You can also set the Corner Coordinates if desired.
10.Making changes in the dialog will update the stock preview on the part.
|
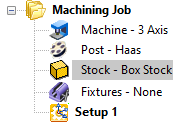
11.Pick OK to close the dialog.
12.You will see that the Stock is now defined under the Machining Job.
|
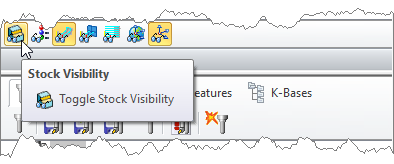
13.![]() The stock box will display on the screen. If you do not see the stock displayed, pick the Toggle Stock Visibility icon located at the bottom of the Machining Browser - first icon from the left.
The stock box will display on the screen. If you do not see the stock displayed, pick the Toggle Stock Visibility icon located at the bottom of the Machining Browser - first icon from the left.
|