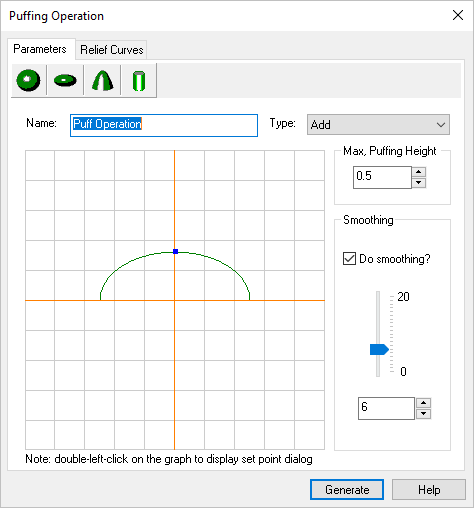
![]() This operation is used to puff up the interior of a closed curve. This dialog can be invoked by pressing the icon button in the toolbar of the ART Browser. The dialog is shown in the picture below.
This operation is used to puff up the interior of a closed curve. This dialog can be invoked by pressing the icon button in the toolbar of the ART Browser. The dialog is shown in the picture below.
The puff shapes can be defined by 4 different functions. Each of these functions can be selected in the toolbar shown in the dialog above. Selecting a function will display the graph corresponding to this function and some additional controls to affect the shape of this function. Each of these functions is described below:
 Dialog Box: Puffing Operation, Parameters tab |
|
|
|
|
By default the puffing operation name is set to "Puff Operation". This name can be changed for customization purposes if so desired by typing in a new name. |
Enter a numerical value or use the up/down arrows to specify the puffing height. |
The shape graphs for each of these functions are shown below: 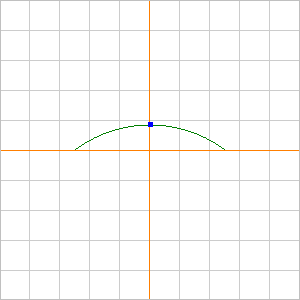 Spherical Puffing
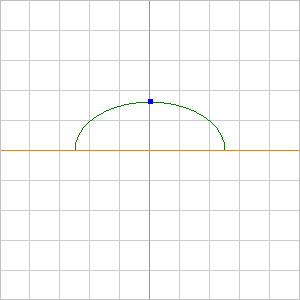 Ellipsoidal Puffing
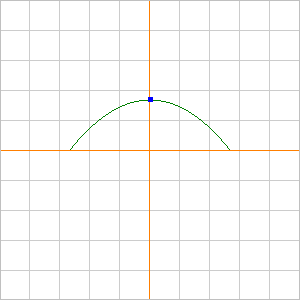 Paraboloid
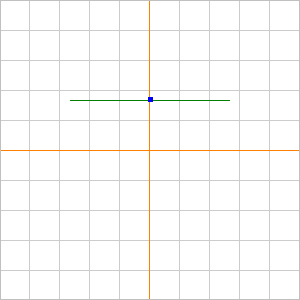 Extrude Curves |
The puffing operation requires curves to be selected. There are two types of curves that can be specified for puffing. They are as follows: 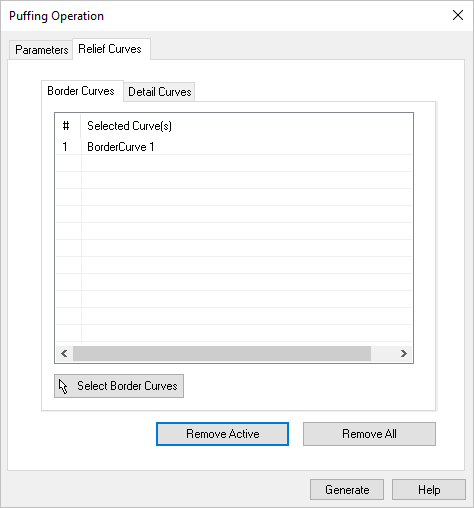 Dialog Box: Puffing Operation, Relief Curves tab |
These curves are used to determine the borders and they must be closed. The region in the interior of these borders will be puffed. These borders can be selected by choosing the Border Curves tab under the Relief Curves tab using the Select Border Curves button on the dialog. The dialog will be minimized and you can now pick the curves. After the required curves are picked, you can invoke the dialog again by Right clicking the mouse button. After selection of border curves they can be removed by either selecting the Remove Active button or the Remove All button. Click on Generate button after desired selections appear in Selected Curve(s) list. |
These curves are Optional and need not be specified for puffing. Detail curves can be open curves. You can specify these curves by selecting the Detail Curves tab under the Relief Curves tab and using the Select Detail Curves button in the dialog. After selection of border curves they can be removed by either selecting the Remove Active button or the Remove All button. Click on Generate button after desired selections appear in Selected Curve(s) list. 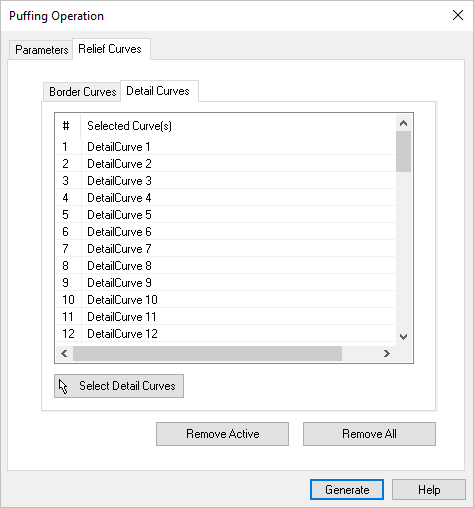 Dialog Box: Puffing Operation, Relief Curves, Detail Curves tab
An example of how detail curves affect the shape of a puff operation is illustrated below: 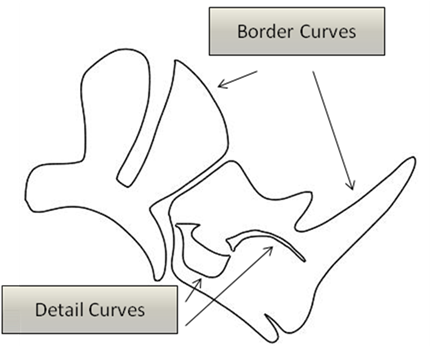 Border curves and detail curves that are selected in the example 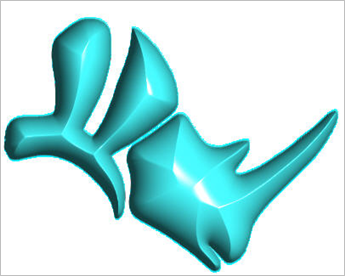 Puff volume obtained without any detail curves selected 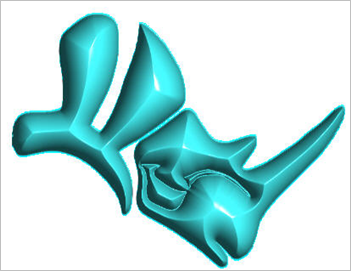 Puff volume obtained with the shown detail curves selected |
For each of the type of puffing specified above, the puffing shape function can be influenced for each of the operations. This can be achieved by clicking and dragging the blue marker on the graph using the mouse. This will change the shape of the puff function, and will influence the output puffed volume. This for example, by clicking and dragging the blue marker on the paraboloid puffing will give us the result as shown in the figure below:  Paraboloid 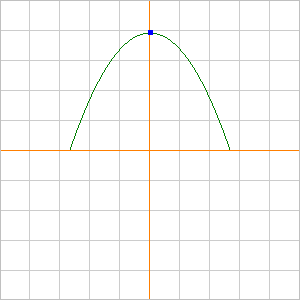 Paraboloid |
By default the puffing operation name is set to "Puff Operation". This name can be changed for customization purposes if so desired by typing in a new name. |
Refer to Operation Type |
Enter a numerical value or use the up/down arrows to specify the puffing height. |
Smoothing is used to remove any unevenness in the final puffed volume. This is optional input that is ON by default. The smoothing weight can be increased to obtain smoother results for the finally puffed volume. Smoothing values can be adjusted from 0-20 using either the slider bar or entering a numerical value. |