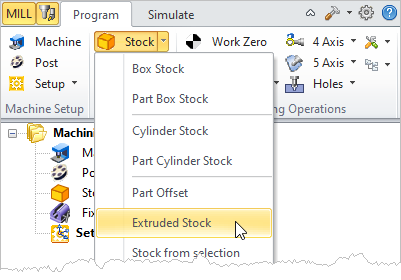
![]() You can define the raw stock model from the currently active regions as Extrude Stock from Create Stock Model under the Program tab in Machining Browser.
You can define the raw stock model from the currently active regions as Extrude Stock from Create Stock Model under the Program tab in Machining Browser.
Select a closed curve before creating Extrude Stock.
 Machining Browser: Extrude Stock menu item |
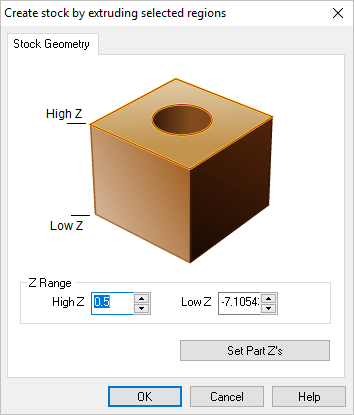
The system creates a 3D stock model by extruding the currently active regions from your defined upper Z-value to your defined lower Z-value. These Z values can be defined in the dialog shown. Additionally these Z values can be automatically set to the part geometry maximum Z and minimum Z values by clicking on the Set Part Z's button shown in the dialog.  Dialog Box: Create stock by extruding selected regions |
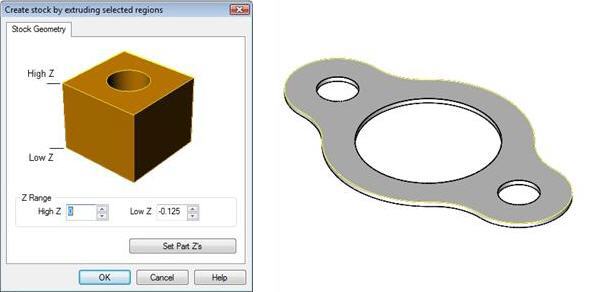
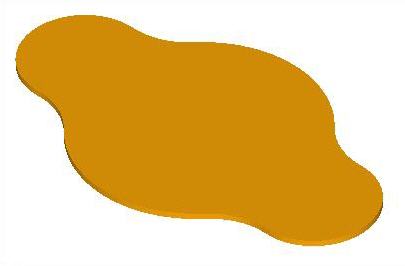
When you click on the OK button, a stock model based on the selected regions and user definitions will be created. You can switch to the Simulate tab of the browser window to display the stock model that was created.  Dialog Box: Create Stock by Extruding Selected Regions  Stock Created by Extruding Selected Regions |